Pokémon mini Development Documentation
DITTO mini
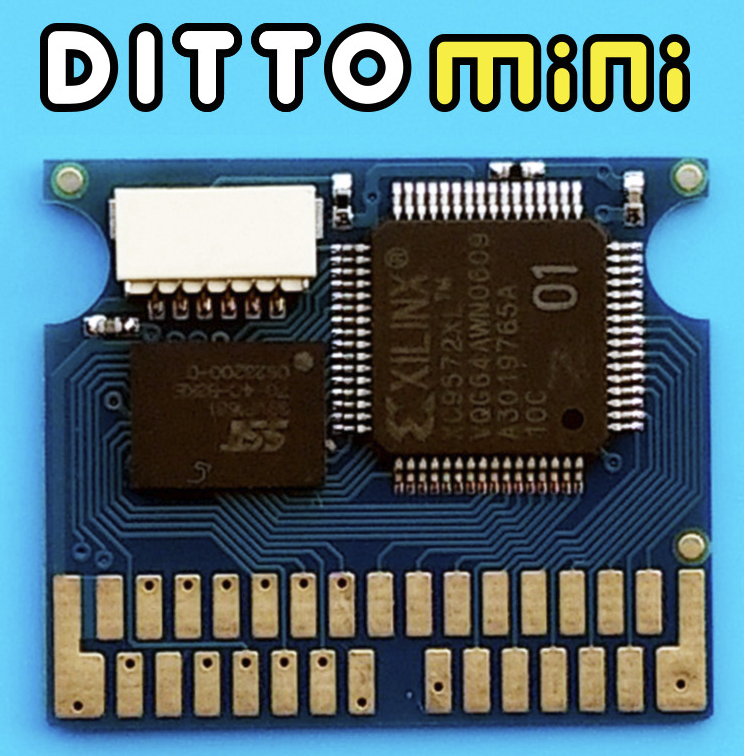
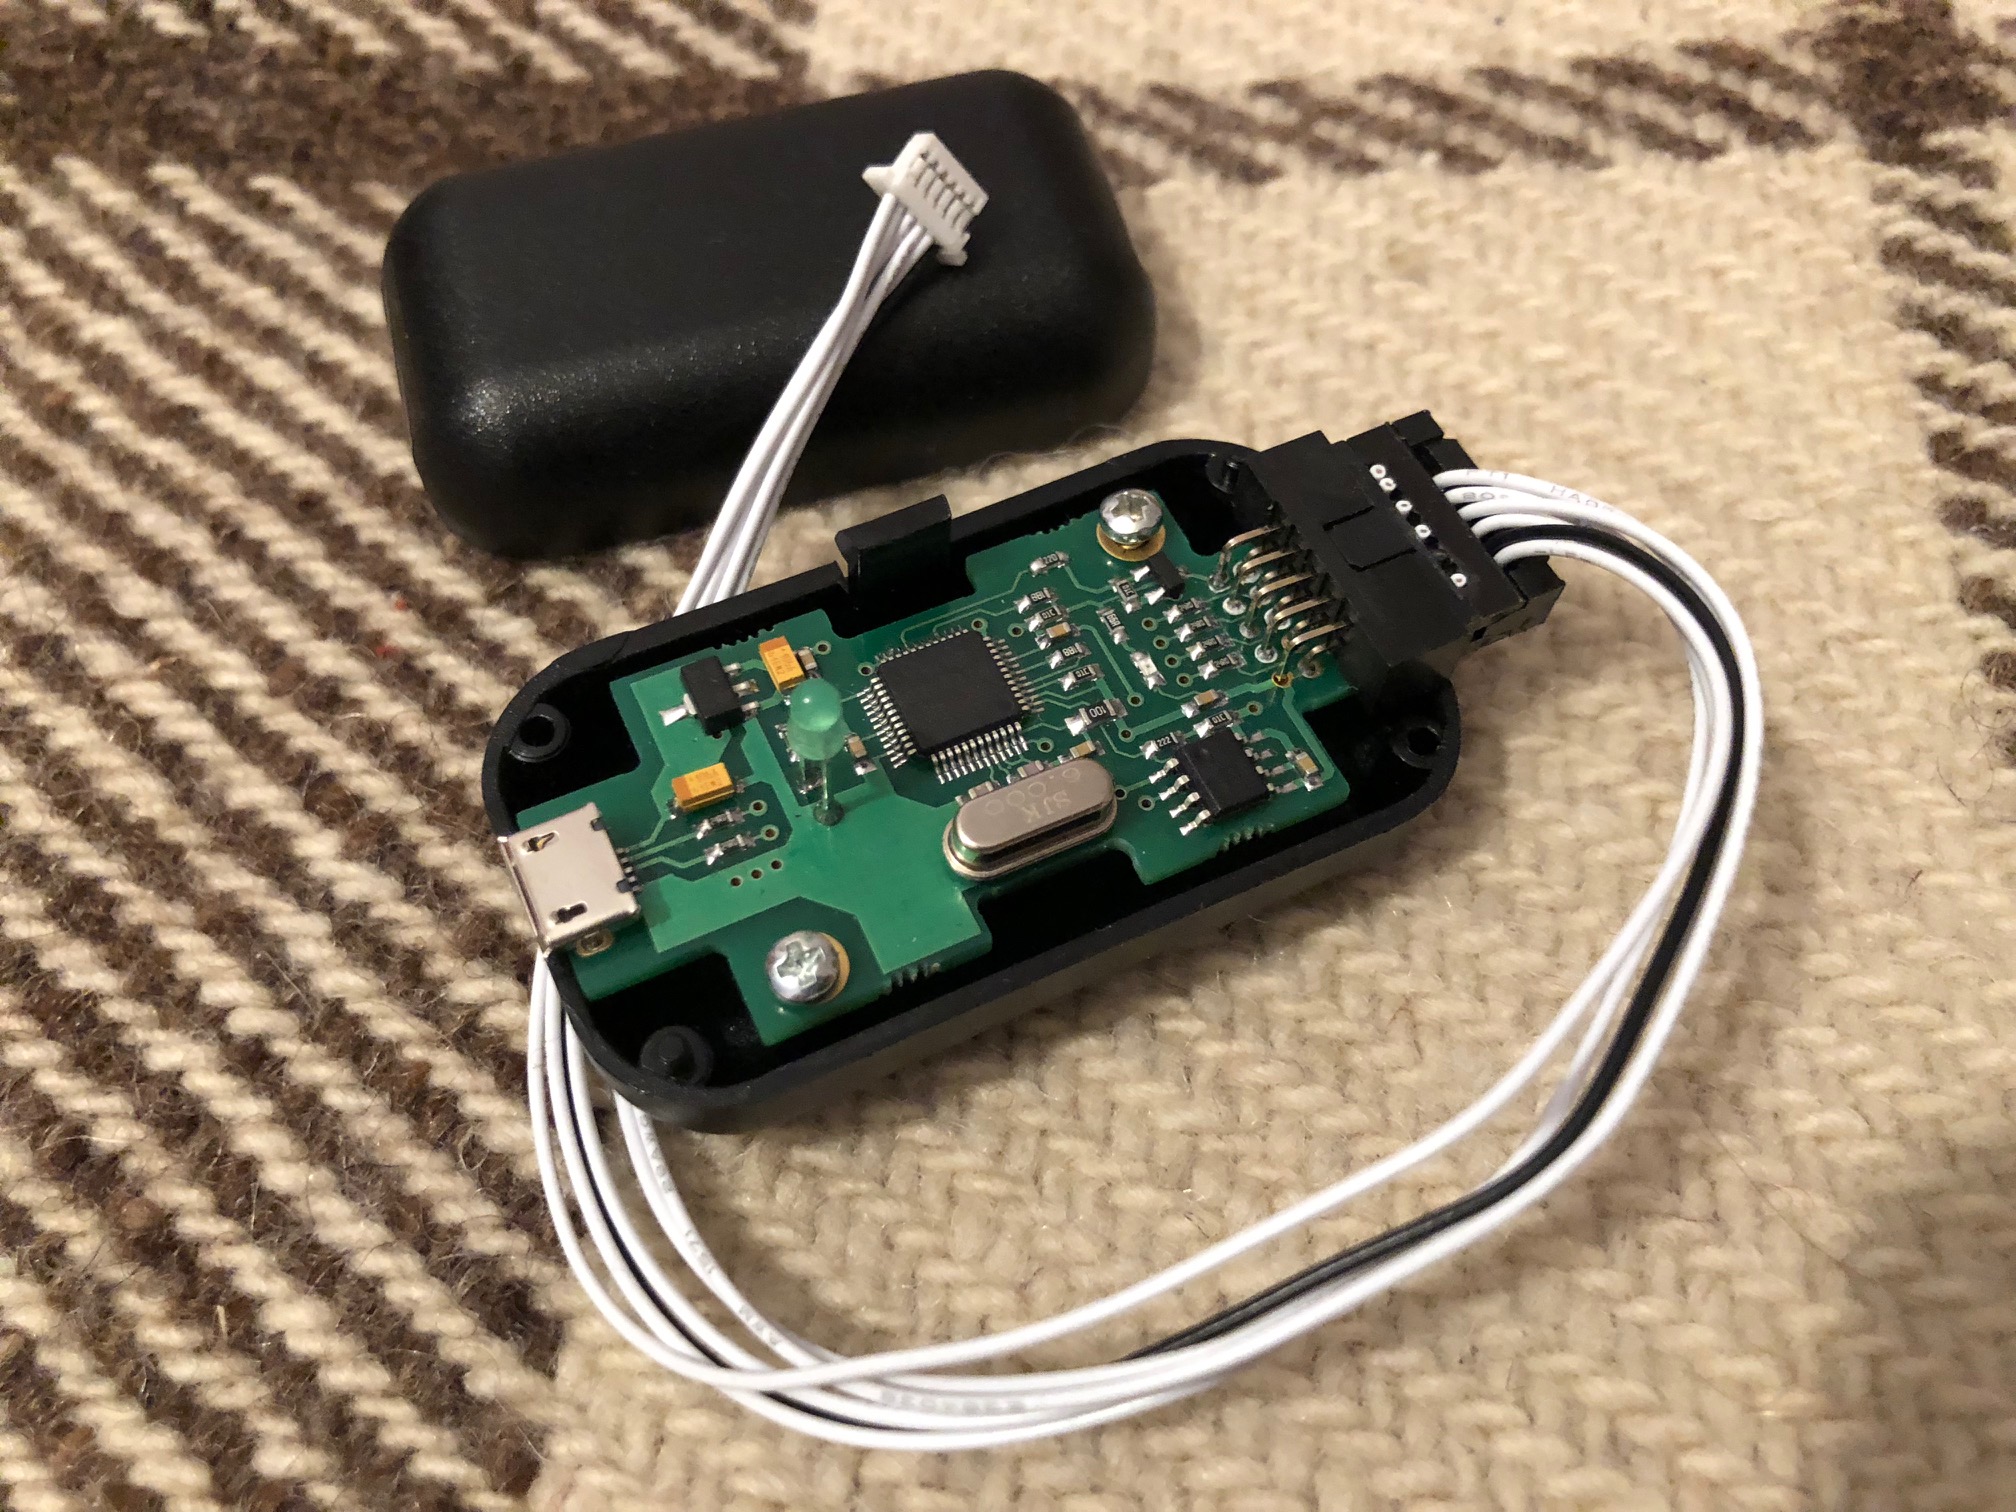
Designed by Zoranc and produced by Plamen, the DITTO mini is a 2 MiB flash cart which has been in production since January 2019.
Since this board can fit in an official PM cartridge, it can use any of those models. Ksanto’s was specifically designed for the DITTO mini.
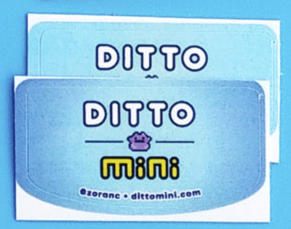
When you order a DITTO mini from a2heaven, it comes with official cartridge labels designed by RazorLeafAttack you can stick onto a cartridge.
Features
- Capacity: 2 MiB, capable of storing 3 commercial games
- Multicart support
- Fits in an official case with no modification
- Software can write to the cart from within the PM
- Comes with stickers
Issues / limitations
- Like all flash carts, commercial games must be patched to play in multicart mode, which disables any mid-game sleeping functionality (like pressing the power button in the middle of a Tetris game)
- Must be used in a case, board will not make contact loose
Technical specifications
- Capacity: 2 MiB
- Power current consumption: ~80 mAh
- Theoretical flashing speeds: 30s (512 KiB), 2m (2 MiB)
- Flash memory: SST39VF1681
- Bridge chip: XC9572XL-10VQ64C
Flashing
There are two options for flashing, the official DITTO mini Flasher or the PokMini Flasher
DITTO mini Flasher
The official tool for flashing through this linker is Ditto Flash.
This is the same flasher which is used for other a2heaven flash carts, namely the Supervision one.
To use this tool, remove your DITTO mini from your console (or at least remove the battery), connect your DITTO mini Flasher to your DITTO mini with the provided cable, then connect the flasher to your computer with a USB 2.0 Micro-B connector. Now run Ditto Flash, it should automatically connect (you can tell because the icons will become clickable).
Flashing
- Follow the steps above to connect the flash cart
- Click
Load Fileto load a ROM file into Ditto Flash - Click
Write to Cardto write it - Wait until it says “Programming is successful” and the red light turns off on the DITTO mini Flasher
- You may now disconnect the DITTO mini
Dumping
This is primarily useful after you’ve backed up your EEPROM or BIOS.
- Follow the steps above to connect the flash cart
- Click
Read Card, it will read the whole 2 MiB - After it says “Reading Done”, click
Save Fileand choose where to save the file
Issues with Ditto Flash
- “ftd2xx.dll was not found”
- Install the FTDI D2XX drivers (from here)
- “Value must be between 1 and 2,147,483,647”
- Cable might be loose, try reconnecting the bit that plugs into the cart, maybe push the wires in a bit
- Error when reading/writing after writing once
- Just restart Ditto Flash
- “No Ditto Programmer devices found”
- Possibly using a charge-only cable
- Make sure light is blue on the flasher
Technical specifications
- Connector: USB 2.0 Mini-B
- Chip: FT2232HL
- Cable:
- Flasher-side head: 2.0mm pitch 2x5 pin IDP FC female socket connector
- Cart-side head: 6-pin JST SH-style female cable
- The single-head one, and note that SH-style means 1.0mm pitch.
Pinout
Flasher-side connector (IDP), nub on top

 _____----_____
|01 02 03 04 05| Port in flasher
|06 07 08 09 10| Male end
 ‾‾‾‾‾‾‾‾‾‾‾‾‾‾
 _______-----_______
| | 01 02 03 04 05| | Teeth on connector
| |06 07 08 09 10 | | Back side of female end
 ‾‾‾‾‾‾‾‾‾‾‾‾‾‾‾‾‾‾‾
| Pin | Purpose | FT2232D Pin | MPSSE | SPI | Color* | JST Pin |
|---|---|---|---|---|---|---|
| 01 | (GND) | 34 - GND | - | - | - | - |
| 02 | (GND) | 34 - GND | - | - | - | - |
| 03 | (GND) | 34 - GND | - | - | - | - |
| 04 | GND | 34 - GND | - | - | red | 6 |
| 05 | VCC 3.3V | 14 - VCCIOA | - | - | black | 5 |
| 06 | (GND) | 34 - GND | - | - | - | - |
| 07 | Input | 22 - ADBUS2 | TDO/DI | MISO | blue | 2 |
| 08 | Output | 23 - ADBUS1 | TDI/DO | MOSI | green | 3 |
| 09 | Clock | 24 - ADBUS0 | TCK/SK | SCLK | white | 1 |
| 10 | Program | 21 - ADBUS3 | TMS/CS | CS | yellow | 4 |
*Color on the official connector cable
PokMini Flasher
For its usage with the PokMini flash cart, see its main page
To flash a ROM using this device, connect the DITTO mini with the cable provided with the PokMini Flasher and use the special PokMini DM Flasher tool.
Drag and drop the ROM onto pokmini_dm_flasher.exe to flash. There is no dump or erase support.
Multicart
There are two options for multicart on DITTO mini: official and slimloader
Official multicart
Find the instructions and ROM here
- Download the bootloader ROM
- Ensure your ROMs are either 512 KiB or 64 KiB. If you mix them, you must order all the 512 KiB ones before the 64 KiB ones
- Concatenate the files together
# Windows, in Command Prompt (CMD) copy bootloader.min/b + p1.min/b + p2.min/b + p3.min/b result.min # *nix cat bootloader.min p1.min p2.min p3.min > result.min - Flash to your DITTO mini
To pad homebrew ROMs, a decent way to do it is to use a hex editor like HxD to insert bytes until it’s the right size. HxD also supports concatenating files.
Slimloader
Find the latest version here
- Download this repo
- Ensure you have the Epson tooling installed
- Place exactly four ROMs in the
slimloaderfolder namedin.min,in2.min,in3.min, &in4.min - Open your terminal to this folder
mk88 combined
The first game will have a portion of its available space replaced with Slimloader’s code. To be completely safe, this first ROM should be less than 260 KiB (267008 B).
BIOS dumper
Find the instructions and ROM here
TODO: instructions here, upload ROM to PM.net and link that
EEPROM Tool
Find the ROM and source code here
TODO: instructions
This tool manages the entire EEPROM, not individual save slots. To manage individual save slots after backing up to your PC, use this tool by thx.
Users have reported an occasional failure to restore the backup to a PM. Ensure the save looks correct by using the above tool before attempting a restore.
Writing from software
TODO: library
The DITTO mini offers full flash control from software. So any command - such as writing, erasing, getting manufacturer information, etc. - can be run from software.
Since flashing data to the cartridge requires entering command sequences which would be interrupted by reads, any functions which write to the cart must be run from RAM with interrupts masked (LD SC, #0C0h).
There are two registers the DITTO mini offers:
#define FLASH_ADDR1 (*((volatile uint8_t _far *)0x1FFAAA))
#define FLASH_ADDR2 (*((volatile uint8_t _far *)0x1FF555))
In order to flash a single byte, perform the following sequence:
FLASH_ADDR1 = 0x55;
FLASH_ADDR2 = 0xAA;
FLASH_ADDR1 = 0x05;
*((volatile uint8_t _far *)address) = value;
// wait ~24 more cycles, such as with _nop()s
Bank switching
Because bank switching changes where the CPU reads from immediately, it’s recommended to switch from code running in RAM. Once a bank is selected, the software cannot access memory outside the selected bank. If this is for a multicart, you can call _int(0x02) after to reset the console and load software from the new slot.
#define BANK_SWITCH (*((volatile uint8_t _far *)0x1FFFFF))

BANK_SWITCH = 0;     // Use full 2 MiB

BANK_SWITCH = 1;     // Use 64 KiB bank 0
BANK_SWITCH = 2;     // Use 64 KiB bank 1
// ...
BANK_SWITCH = 31;    // Use 64 KiB bank 30

BANK_SWITCH = 0x80;  // Use 512 KiB bank 0
BANK_SWITCH = 0x81;  // Use 512 KiB bank 1
BANK_SWITCH = 0x82;  // Use 512 KiB bank 2
BANK_SWITCH = 0x83;  // Use 512 KiB bank 3
Gallery